

These little jewels are super simple to make and perfect for any occasion whether it be a wedding, a shower, or just a get together at home. Heck you could even give them as a gift! They are that good and versatile!
I started out with a recipe I found on Pinterest but quickly realized I was going to have to make adjustments which is something I hardly ever do. My theory is to always make the recipe a written first then adjust, but in true Laura style I had decided not to try this recipe prior to the party so I had to suck it up and trust my instincts and I have to say....my instincts were right. I've got the perfect recipe!
I'm going to walk you through everything including the steps of the original recipe so that you can see why I did what I did. I've found that sometimes including the "oops" photos are helpful when you run into problems. Don't worry I'll write out the correct recipe and ingredients at the bottom so you don't have to sort through all this!
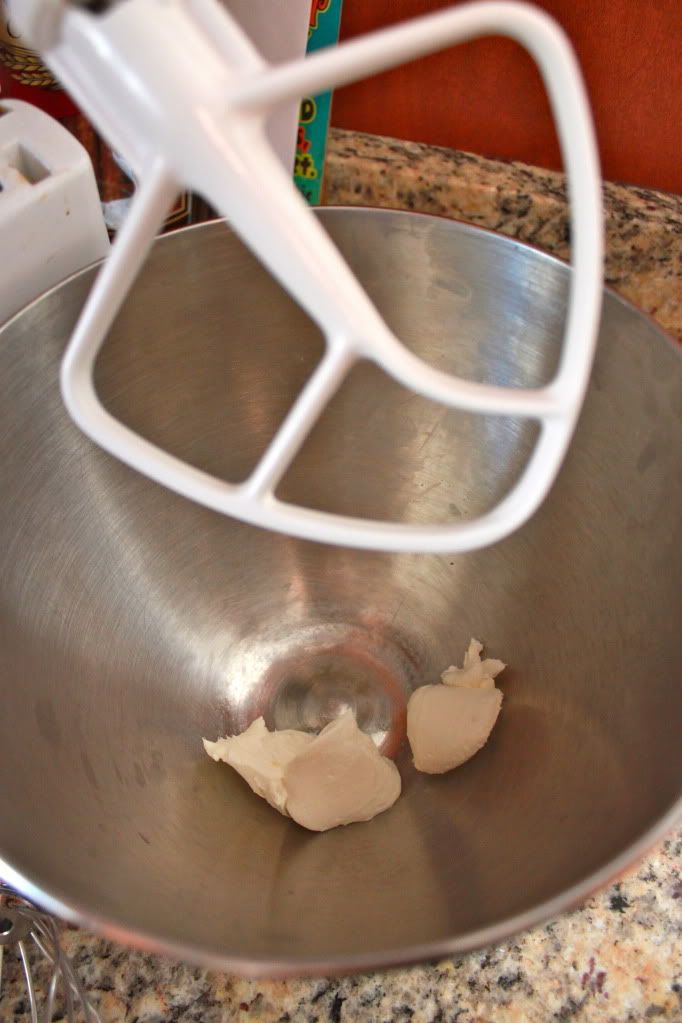
Throw 3 tablespoons of softened cream cheese into the bowl of an electric mixer and beat until creamy.
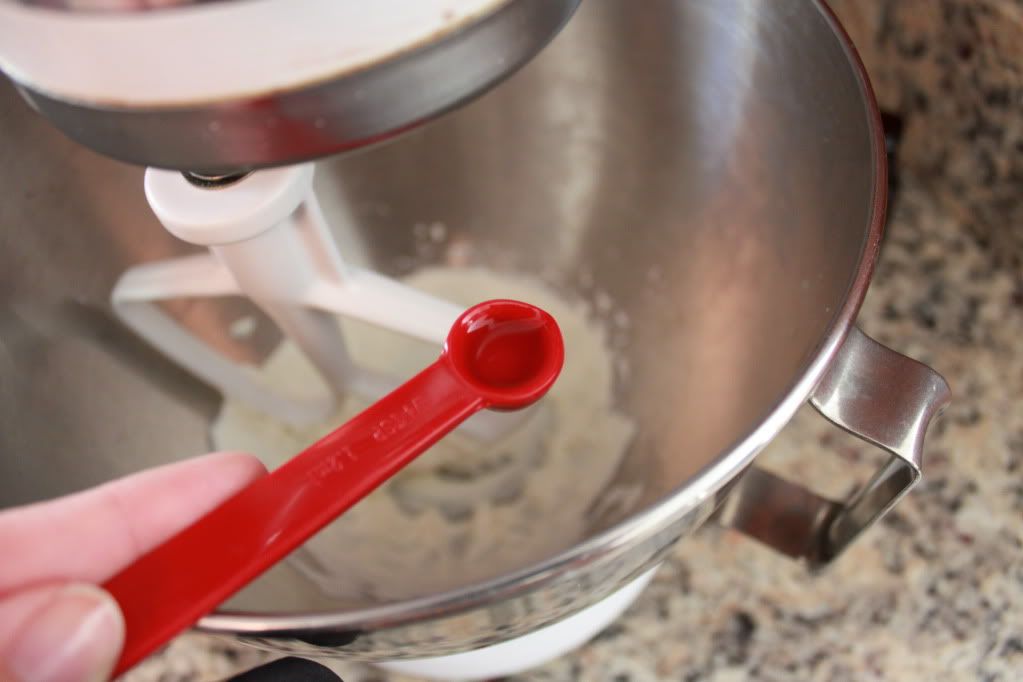
After it's whipped to creamy perfection it's time to add in your flavoring...1/4t mint extract in the original recipe.
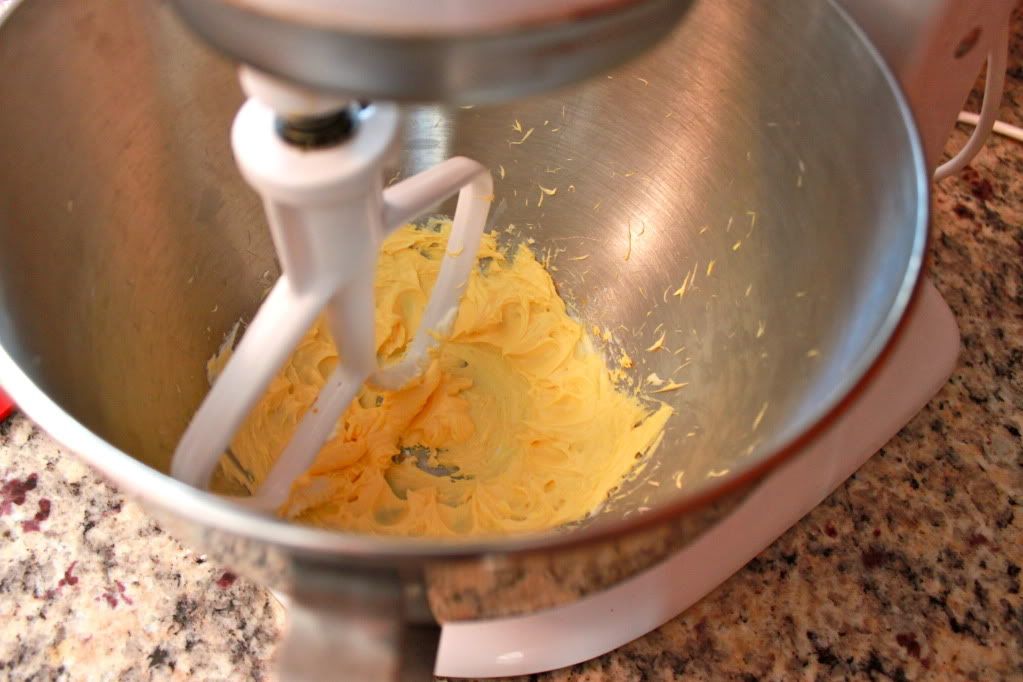
It's also time to add in your food coloring if you want tinted mints. I thought I had added too much according to this picture, but in the end you could just barely tell they had any color. So add more than you think you need. I had intended these to turn out a pale orange are really they turned out a buttery yellow in the end which thankfully still worked out with my yellow and orange party theme!
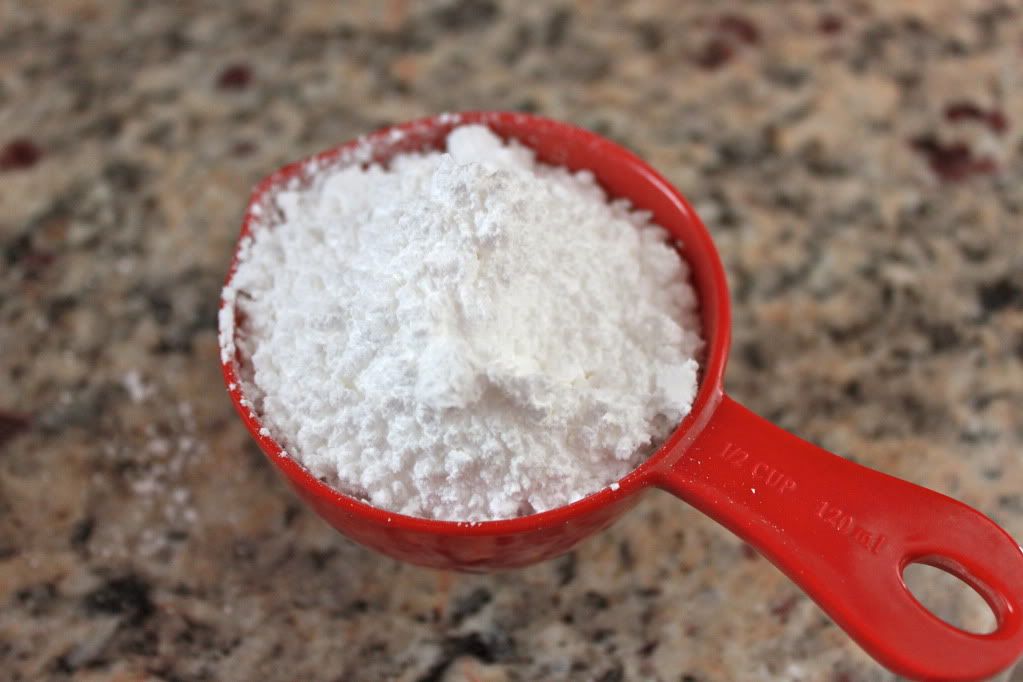
Now it's time for all the sugar! This is where things started to get dicey and I realized there were problems. No worries though, we'll fix it! My original recipe stated to add in 4 to 4.5 cups of powdered sugar 1/2 a cup at a time until a stiff mixture formed. So here we go...
Not sure how far in to the sugar this next picture is but obviously it's still to sticky to be able to roll into balls so more sugar is needed.
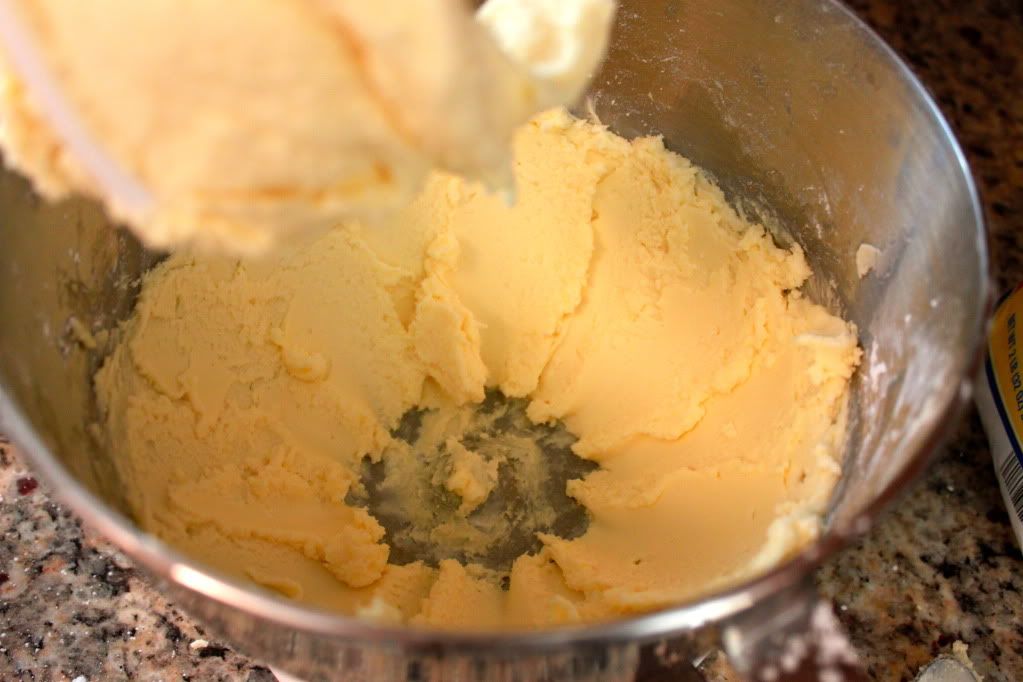
Alright, now if I recall correctly, I believe this was around 3 cups of powdered sugar and as you can tell something just ain't right! It's a crumbly, crumbly mess and we haven't even gotten to the right amount of sugar. Time for plan B!

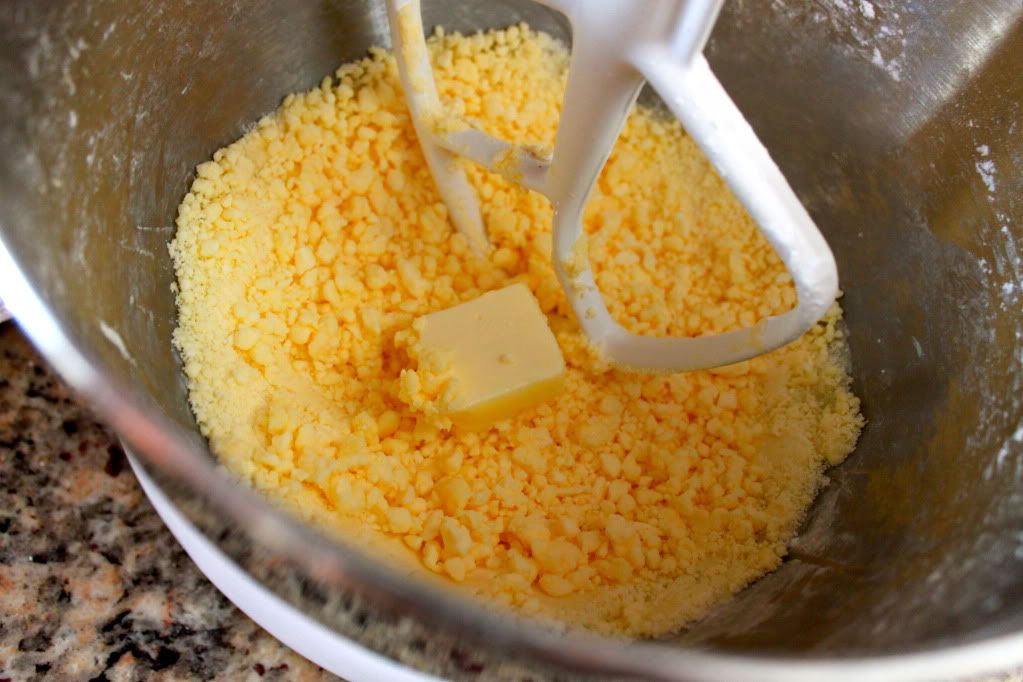
Dr. Google (you did know you could use it for more than just medical stuff right? It helps fix your recipes too because thankfully we aren't the only ones that have screwed up too!)...anyways...Dr. Google suggested some butter so now these aren't just mints they are butter mints...mmmm!
So I decided to add 1 tablespoon (softened of course and unsalted). You did know to always bake using unsalted butter right? Right. Ok...

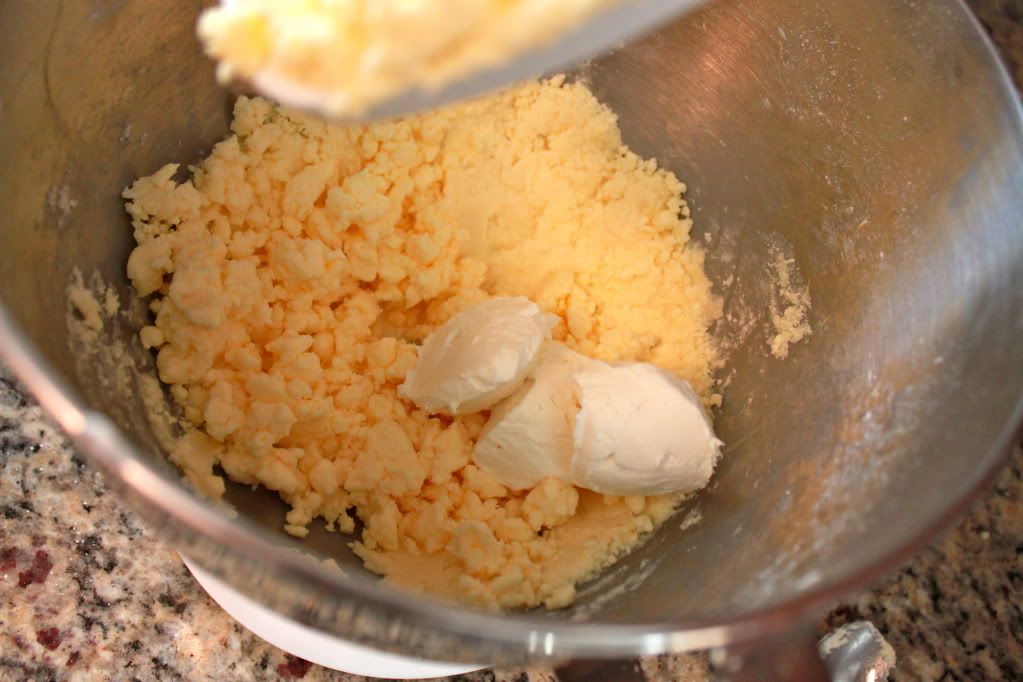
Ok so this is obviously still crummy...literally. After more research with Dr. Google I came to the conclusion that I needed more cream cheese. In fact I needed a total of about 3oz so in went 3 more tablespoons because 1 ounce = 2 tablespoons (again Dr. Google!).
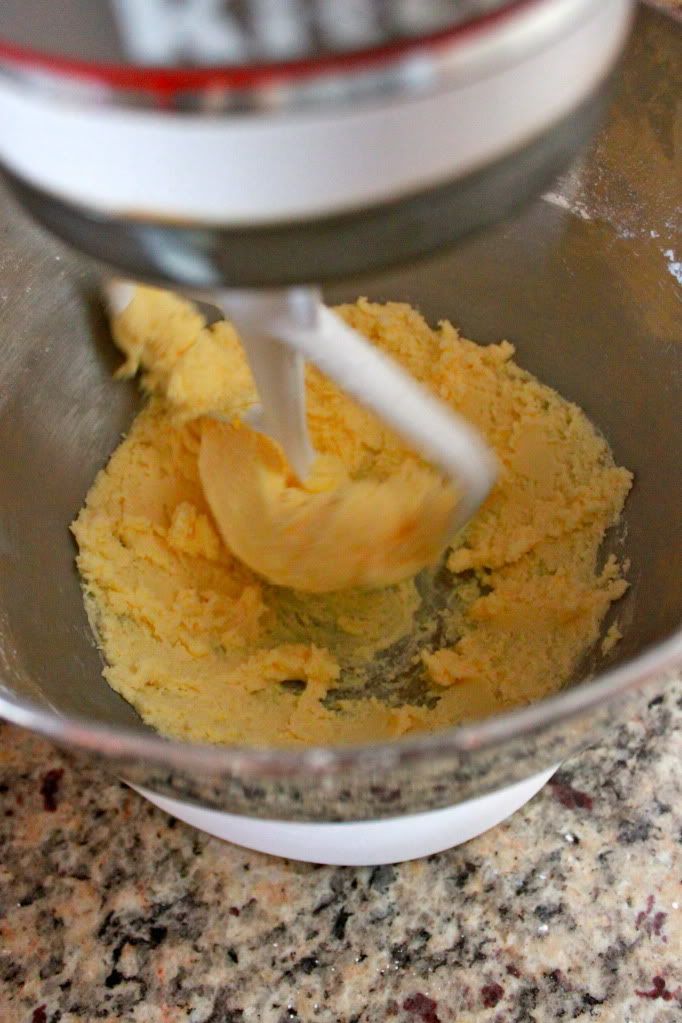
And the moment of truth.....
Success!!!! Now, to tell if you have it right it needs to be stiff enough to roll into a ball, not sticky or crumbly. If it's sticky add more powdered sugar. 3 cups worked for me, but you might need a little more. If it's crumbly try a little more cream cheese or even butter if you so choose. At this point I also tasted them and decided to add more peppermint extract. You could probably add in more food coloring as well at this point too if needed.
Now it's time to roll them into little balls and cover them with granulated sugar...you probably need a smaller ball than the one I show below. I originally tried to put them into molds, but again, a problem! I couldn't get them to come out so I aborted that and went back to the simple option.

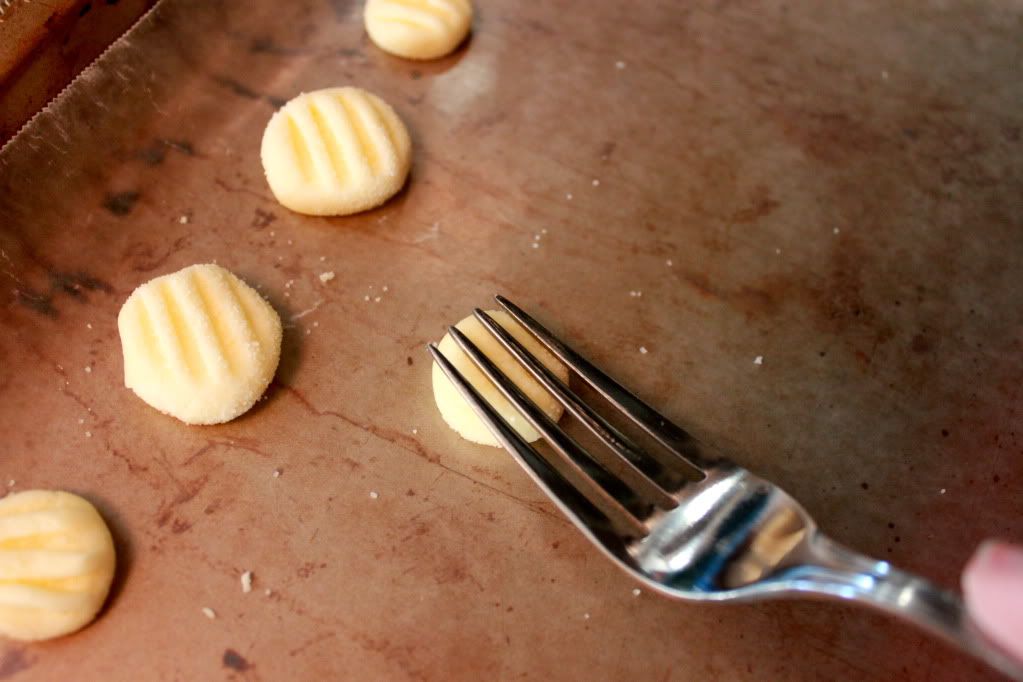
The simple option is roll into small balls smoosh a little and press a fork lightly on top to make some cute little lines. I laid down some wax paper before I did this to ensure they didn't get stuck!
 |
| Yes, this pan is clean, just well loved! |
Now, just throw them in to fridge to set up for an hour or two then you are good to go!
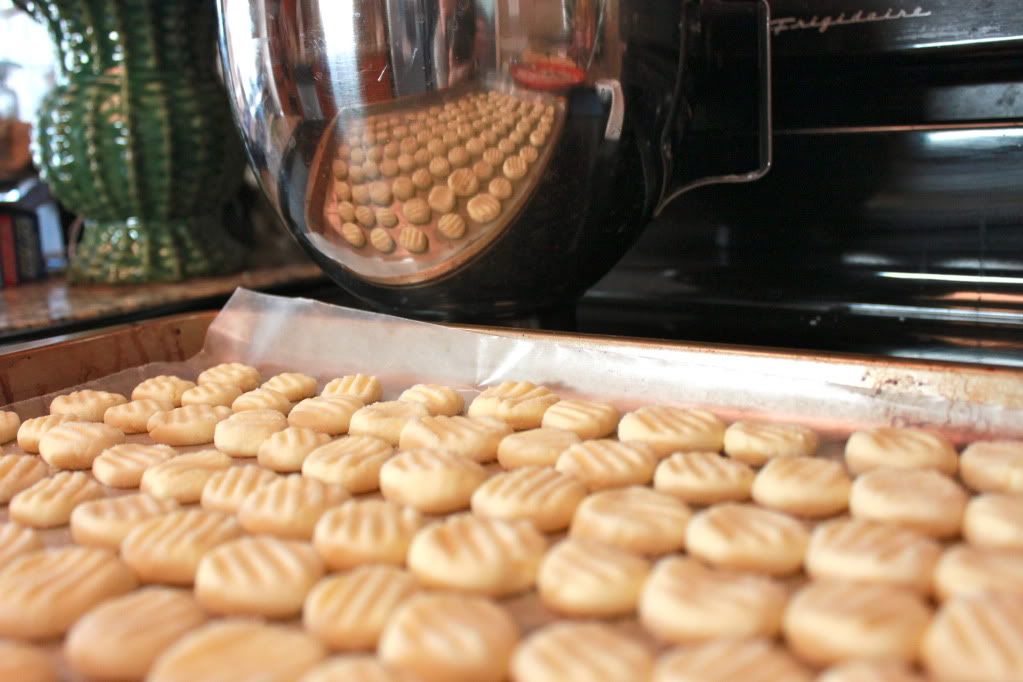
You will end up with around 100 mints and the good news is that if for some reason you get stuck with a bunch after the party they keep for awhile in the fridge...it's been almost a week since E's party and I'm still munching on them.
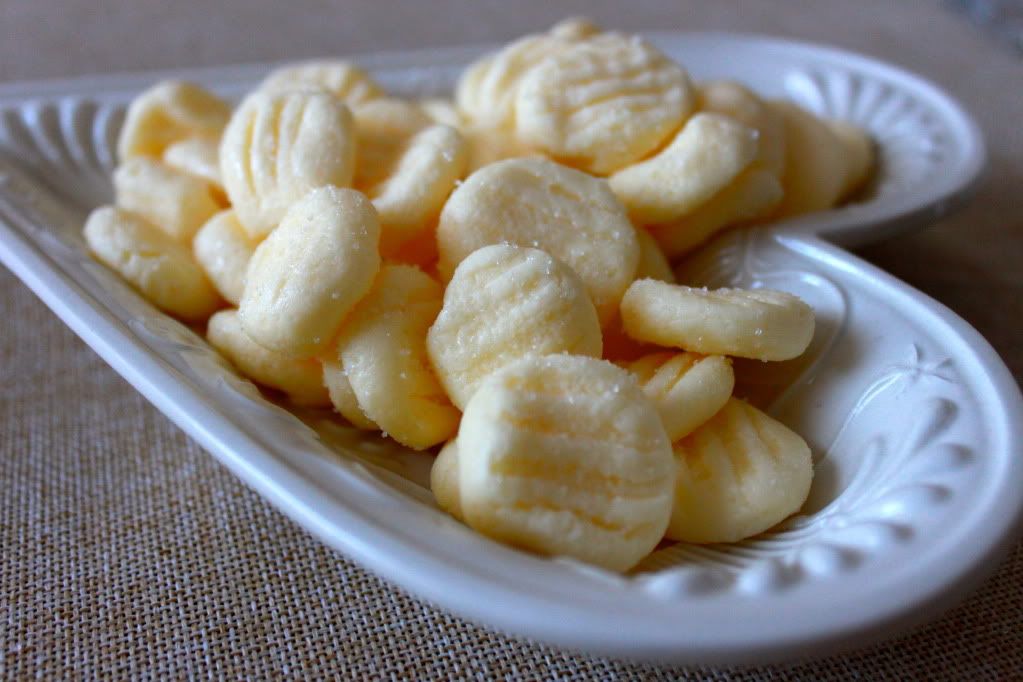
They are best served at room temperature so make sure to set them out a little bit ahead of time. They are perfectly good cold too, but room temperature makes them extra creamy and smooth!
Melt in Your Mouth Mints
3oz reduced fat cream cheese, softened (using regular cream cheese will change the amounts of sugar needed so beware)
1T butter, softened
3C powdered sugar (extra if needed)
Peppermint Extract (Always use pure!) I used 3/4t, but start at 1/4t and add to taste.
Food coloring (optional)
Sugar for rolling
Wax paper
Place cream cheese and butter into the bowl of an electric mixer and beat at medium speed until soft and creamy.
Add in powdered sugar 1/2C at a time on low speed until you reach a mixture that is stiff enough to roll into a ball in your hand, not sticky or crumbly. If sticky add more powdered sugar. If crumbly add in more cream cheese or butter.
Now mix in your food coloring and extract until well incorporated. Add in the extract 1/4t at a time to taste.
Roll small balls in the palm of your hand and then roll onto a plate filled with sugar. Place onto a sheet pan covered with wax paper and lightly smoosh until flat on top. Using a fork light press to achieve lines on top of the mints.
Place pan in the fridge for an hour or two or until mints have firmed up. Can be made up to a week in advance. Set out at room temperature before serving.
Yields around 100 mints


The mints were very yummy! Very addictive I might add.
ReplyDeleteI love butter mints! I always wondered how to make them...now I know! :)
ReplyDeleteYumm! I think that those would go perfectly with Giada's theme party as well, so I may make them in a couple of months :-)
ReplyDeleteooooh, must try this!
ReplyDelete